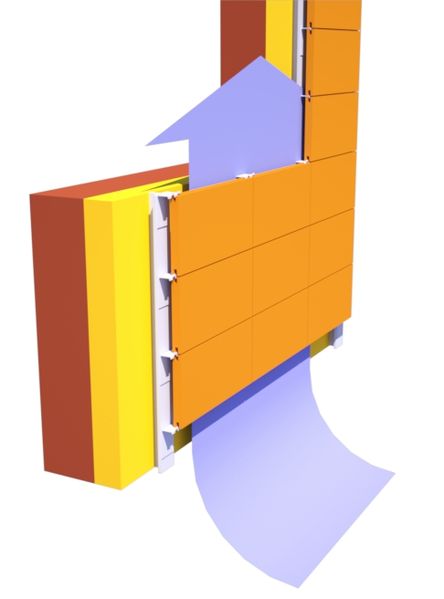

Rainscreens are systems that ensure an airspace, behind a building’s siding or exterior finish.
This airspace has profound influences on the physical effects of rain on our dwellings and their ability to dry out after getting wet. Building researchers find that these techniques combined with proper flashing of weather barriers, is one of the best ways to boost the durability of homes and buildings. With code minimum levels of airtightness and insulation it’s more important than ever to include these best practices in quality built custom homes.
Benefits of Rainscreens:
- One of the best ways to increase durability and prevent water damage to our homes and buildings. Bulk water leaks is #1 on our list of the Top 3 ways water destroys our homes and buildings.
- Protects and extends the life of siding/exterior cladding and their finishes (paint or stain). This reduces maintenance and could be more important than the quality of the finish.
There are many specific benefits that people attribute to rainscreens but they are mostly variations on these two themes. Rainscreens increase the durability of the siding/cladding and the exterior walls behind them. Some attribute energy savings to rainscreens but if your wall is so thermally weak that it benefits from a rainscreen, there should probably be a re-evaluation of the air sealing and insulation strategies. The only good case for increasing thermal performance is with foam sheathing (usually polyiso) that has an exterior foil facing the air cavity.
Downsides of Rainscreens:
- Increased upfront costs
- Possible increased risk of insects in some locations of siding and trim
Rainscreens tend to cost more money unless the siding or cladding has a built-in rainscreen, the best example being vinyl siding. Yes, this often maligned building material has a huge advantage compared to other siding and claddings. Insulated vinyl siding or that which fills the hollow space with a solid backer, loses this key advantage.
For more popular exterior siding choices, there are many strategies and products available affecting upfront costs. There are two categories I like to distinguish for this subject. 1. Drainable Housewraps 2. Vented or Ventilated Rainscreens
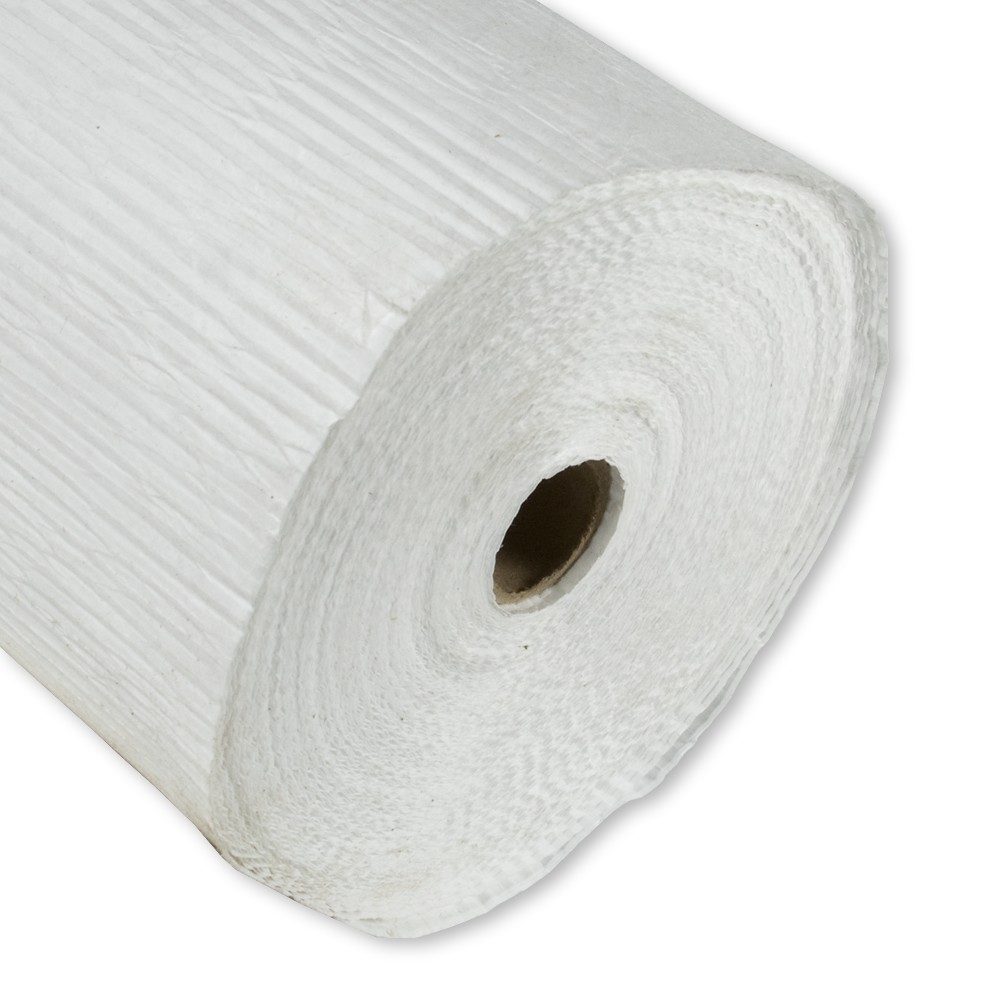
Drainable Housewraps: Crinkled, bumpy, or embossed Weather Resistive Barriers WRBs. These newer products come in rolls like regular housewrap but their features create more of a gap to allow better hygroscopic distribution (drainage).
These are the most affordable rainscreen option with higher material costs but low labor costs. Some do not meet the technical requirements of building code mandated rainscreens yet they offer significant performance advantages over regular housewraps and WRBs.
There is debate as to whether drainable housewraps meet the definition of a rainscreen. They do not meet Canadian rainscreen codes and this article is a good overview. GBA’s all about rainscreens is another quality article.
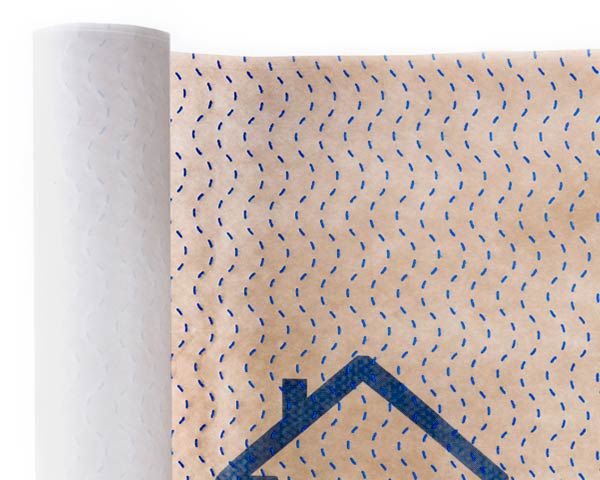

The most affordable options I’ve found include Dupont Stuccowrap and Benjamin Obdyke Hydrogap. They are around five feet wide and install like any WRB. They are more expensive than regular WRBs (0.20$ – 0.75$ per sqft versus 0.10$-0.25$) but the labor costs are the same and still lower than a vented or ventilated rainscreen system.
Vented or Ventilated Rainscreens typically use furring strips, 3D-plastic mesh, and other proprietary/commercial systems. These more proven strategies can include different details but I find them to be similar in costs. Furring strips can consist of any wood strips or commercial products of metal and plastic. Wood strips seem to be the most popular and proven rainscreen method. Material costs tend to be low while labor costs vary widely depending on the installation crew’s experience and training.
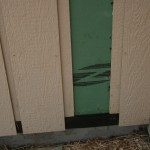
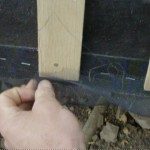
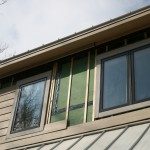
The first shot is LP Smartside installed vertically for a reverse board and batten that includes Coravent SV3 at the top and bottom for insect prevention. Ripped soffit material makes up the unvented battens. The middle picture shows a more conventional lap siding installation with SV3 at top and bottom. The last picture is the old school approach that we used on a renovation with vertical cedar siding. Ripped plywood furring strips are detailed with insect screen.
Strip installation goes faster with Coravent SV products instead of insect screen detailing. Coravent seems naturally more insect resistant.
3-D plastic mesh is a good choice for shakes and shingles. It tends to have a high material price but labor is simple. It’s apparently difficult to install without visible waves behind horizontal lap siding.


Drainable Housewrap versus Vented or Ventilated Rainscreen
I don’t care what someone chooses for a rainscreen but I do get upset when I see people using real wood without either. And my girlfriend says I don’t talk about emotions. A drainable housewrap is dirt cheap compared to replacing siding or refinishing with paint or stain after a short life. Our company pushes for drainable housewraps behind engineered siding as a minimum and ventilated rainscreens behind wood.
Both practices are great but a vented or ventilated rainscreen is much better than a drainable housewrap. With the right energy efficiency improvements, its possible for upgrades to pay off very quickly. With rainscreens, you can forget about trying to figure out a simple payback. Orientation, exposure, shading, rainfall, local wind, material discrepancies and installation quality will all affect how much durability a rainscreen adds and how much one will save in future maintenance and repair.
Vented or Ventilated Rainscreen?
While drainable housewraps are easy to distinguish, rainscreen definitions are trickier. Most importantly, the bottom of the airspace needs to have a clear pathway for bulk water to escape. The more contentious details are how thick the airspace needs to be and whether there is a vent pathway at the top of the siding (where walls meet soffit or roof). Research seems to suggest that an open vent at the top allows more drying and better performance which are generally referred to as ventilated rainscreens. Still, rainscreens without a vent at the top are much better than no rainscreen at all.
Rainscreen gap depth or thickness is the most debatable detail. Vented airspace rainscreens typically see from 1/4″ to 1″ thicknesses. Bigger airspaces will promote more drying but they also increase labor and material costs and complicate trim and siding details. Most of our projects utilizing rainscreens use a 3/8″ gap, which is the equivalent to coastal Canada’s 10mm requirement. The two recent homes between 2000 sq ft and 2600 sqft had material costs increase 400-500$ and had labor costs increase an estimated 1000-1400$.
So what about the insects?
Even with near perfect vented rainscreen installation , it’s not hard to find locations that are more prone to insect entry and nesting. This could be another advantage of drainable housewraps over vented rainscreens. The much smaller gaps created by drainable housewraps (1/16″-1/8″) may not promote as much drying but they create less areas of entry behind the siding in my opinion.
It’s easily argued that rainscreens help buildings resist damage from wood destroying insects. These insects prefer wood with a high moisture content. Rainscreens have the effect of reducing the moisture content of both the exterior trim/siding and the wood in the exterior walls that the siding protects. For these important reasons, I think properly installed rainscreens will create more resistance to wood destroying insects.
Some types of siding materials, climates or wall exposure deserve a closer look at rainscreens than others. I feel any type of real wood product, finished or unfinished, should strongly consider a rainscreen to increase its longevity. Engineered products like LP Smartside, Miratec and fiber cement can be more resistant to rot, but their lives and finishes can be extended significantly by including a rainscreen. Building sites at high elevation or wind exposure and gable walls or those not well protected by deep overhangs are also candidates for the extra protection of a rainscreen.

Rainscreens are a best practice for all climates with measurable rainfall. They offer a simple and affordable way to increase durability and reduce maintenance needs. Window and door installations are another important area needing improvement with current common construction practices.
 Top 3 ways water destroys our homes
Brian Knight is the owner of Springtime Builders, green builder of Asheville custom homes.